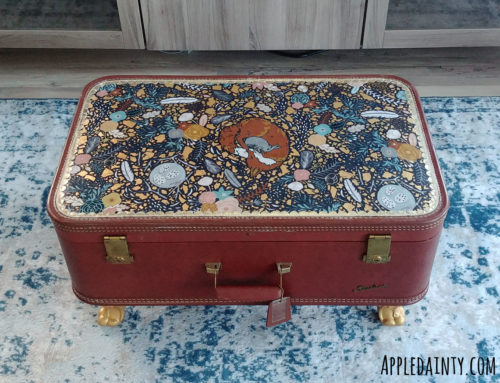
When I moved to Canada a few years ago, my Mom gave me a lot of things. One of my favorite things is a wooden chest that she got in Alaska long before I was born, and which we had used as a coffee table for all of my life. It was old and tattered, with the stain having peeled off in many places, but for me it was the first treasure chest I’d ever encountered, it was home of board games and a place to put my feet up when watching movies, and I knew I wanted to give it a second life.
This was actually the first project I started on for the new house, although it’s not the first one I’ve posted about. That’s because I started having doubts halfway through working on it, and stepped away until I could figure out how I wanted to proceed. I started by asking for my husband’s help with stripping and sanding the chest (the hard part, haha). Once I had a bare chest to work with, we realized that whoever made the chest used different types of wood for different parts of the chest, meaning it would probably take any new stain differently on those different parts.

I knew I wanted a consistent look to the piece, as opposed to different bits being slightly different in color, so we scrapped my original plan of giving it a pale grey stain, and changed to a whitewash. I’ve never whitewashed anything before, but the tutorials I read didn’t make it sound so difficult. After mixing my white washed and painting it on, I realized that maybe I had not been paying enough attention – there were sections that had very obvious drip marks.
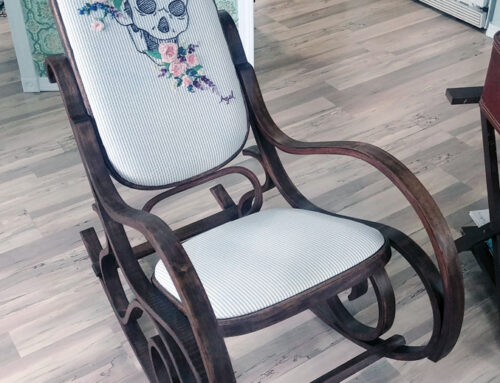
I wouldn’t say I’m a perfectionist; I just like to do things to the best of my ability, and I knew I could do better. But, I didn’t want to strip the whitewash off and start over a second time, as we had already put so much work in, so I needed to think of a workaround. I knew I wanted to give the chest a bit of a Discworld spin, and a wooden chest would be a great reference to The Luggage from the Rincewind Cycle. So, I thought I’d take some Discworld stickers (which I got from The Discworld Emporium) and layer them onto the chest as the foundation, and continue adding stickers from different places we travel to until the chest is covered. Once it’s covered, I’ll be adding a coat of sealer to protect it, but with the addition of the plants and industrial lamp I now think of this project as done.

I am a notorious plant murderer, but for some reason I seem to do ok with orchids. I keep my orchids in glass houses, water them when they get dry, and feed them every so often – and they seem to do just fine. The chest is in the perfect corner to catch light from two of our windows, and the lamp will have a grow bulb to help bolster the plants in winter. I like to think Sir Terry would approve, since he was very fond of nature and plants as well (although he probably was not a plant murderer like me). His daughter once said that he was like a life sized hobbit, and that’s also kind of how I see myself.
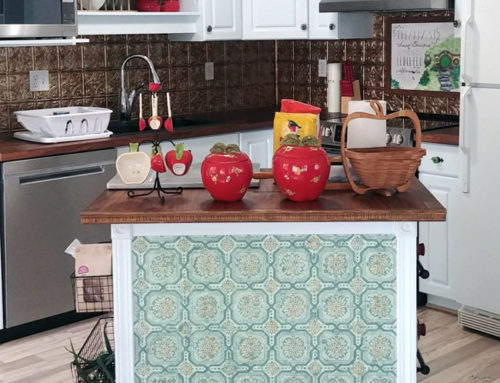
Speaking of hobbits, I’ve got a few ideas for Tolkien related pieces for our kitchen too. Hopefully I’ll be able to share those with ya’ll soon!
Anyhoo, that is all I’ve got for this week. If you like this blog and want to help support it, consider buying me a coffee. Your support is greatly appreciated, and I hope that you check back again soon for more art, crafts, and creativity!