It’s been a busy few weeks here in Saskatchewan. Last week I had the unique pleasure of going to the emergency room and having my appendix taken out. It wasn’t so bad, really, I was out of the hospital after a day and have been healing nicely.
This week we’ve been getting ready for Canada Day. But, it’s not just Canada Day – we’re also having a party to celebrate my in-laws’ 33rd wedding anniversary and David and I’s marriage. We got married in my home town in Florida, and we haven’t had the chance to do a wedding reception here in Canada yet. We’re celebrating everything together that way it’s easier for those who have to travel, like my Mom who is visiting this week.
I wanted to do something special for my in laws to mark this special anniversary. I eventually came up with the idea of customizing some glasses. I’ve only used etching cream once before, so this was a learning experience.
The first thing I did was create a simple text design in Photoshop. I wanted it to be elegant and not too difficult to cut or apply since I haven’t had a lot of success with etching cream in the past.


I had to tweak my design a few times, but I eventually got the design to cut out nicely with my Silhouette Curio. I cut the design on vinyl stencil sheeting that came with transfer paper. Once the design was cleaned up, I applied the transfer sheeting and carefully pulled the stencil and transfer paper from the cutting board without letting air bubbles get in. If they do it’s not a big deal, you can smooth them back out with a little bit of effort.
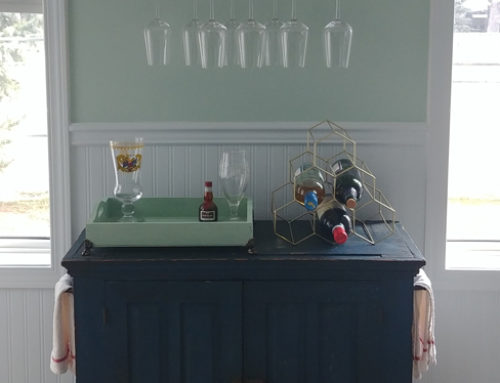
I found applying the stencil vinyl to be really difficult, but I imagine it would be easier on a surface that isn’t rounded. It’s easier if you start in the middle and go slowly, doing your best to rub the stencil on smooth. Once the stencil is on, you can edge it with masking tape, and apply a thick layer of etching cream with a paint brush. After 60 seconds you rinse the glass and the etching should be done!
My glasses didn’t turn out perfect, but they came out pretty good. I think I will be trying this technique again in the future.