Even though the Etsy Made in Canada Market isn’t until the end of September, I know it will come up much faster than I’m thinking it will. So, aside from working on loads of tsumami kanzashi hair pins and clips, lace collars, and leather jewelry, I’m also working on ways to display and package these goods.
I decided to start with a box to store and display my kanzashi hair pins. I’m going to go ahead and show you how I made this one, in case you want to make one for yourself. Here is the list of supplies you’ll need: a bottle of acrylic craft paint, a wooden box (I picked up a square-ish one from Michael’s), paintbrush, sandpaper, a roll of quilt batting, spool of ribbon, stapler, cardboard or chipboard, fabric, a sharp point object to make small holes with (I used a sculpting tool) and some brads.
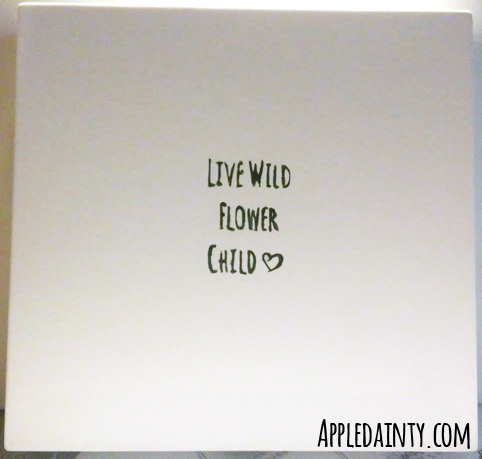
I started by sanding and painting my wooden box a nice flat white. After three or four coats of paint I sanded it again to a smooth finish, then painted a cute little phrase on the top – Live wild flower child!
I painted the inside as well, but didn’t bother smoothing it since you aren’t really going to see the inside very much.
While the paint was drying I started working on the pin boards. I’ve always loved French style memo boards, the ones with ribbons criss-crossing, so I wanted to do something similar.
I started by cutting pieces of chipboard to fit the inside of my box. After that I layered a piece of quilt batting on top that’s the same size as the chipboard, and a piece of cloth on top of that that’s slightly larger than the other two. I used a little spray baste between the batting and chipboard, and between the fabric and batting just to keep it from moving around too much, but it’s not entirely necessary.
I flipped the stack over, then stapled the fabric to the back side of the chipboard. If the chipboard is thin, it might poke through your fabric, so be careful. It happened to me, but I had very forgiving fabric and only had to shift it slightly to hide the staples under the fabric.
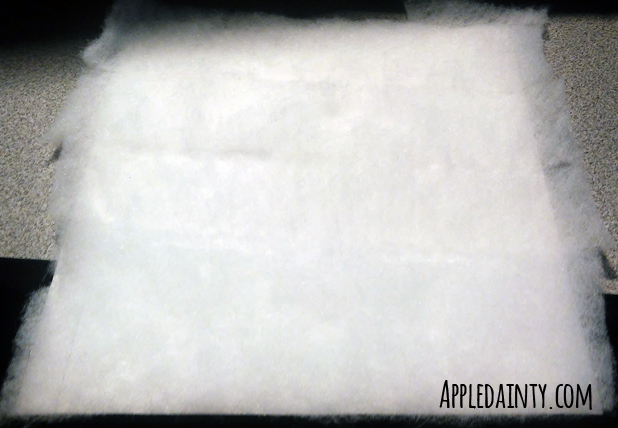
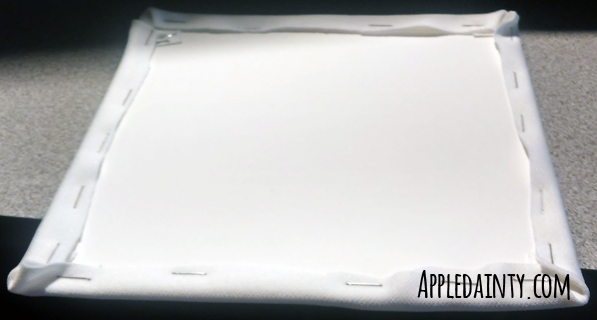
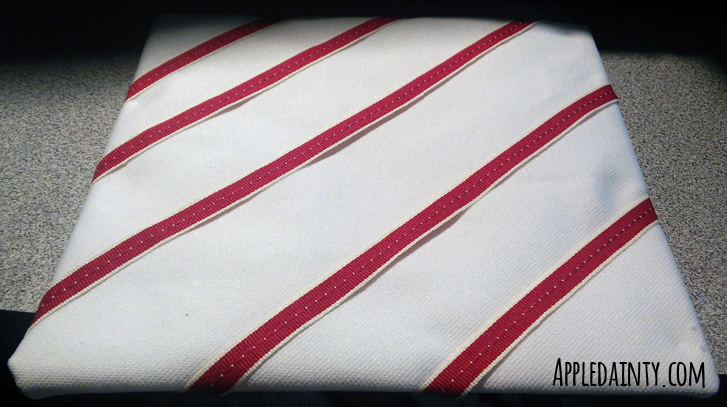
Once the fabric is secured to the board, I placed my ribbons. I used a stapler to staple them to the backing board as well. Once the ribbons were placed, I used a point ended sculpting took to poke a small hole in the spots where I wanted my brads to go, then inserted the brads. I used fancy ones with little rhinestones in them. You can never have too much sparkle!
Once the brads are all in place, all that’s left to do is glue the pin boards into the box.
My boxes are relatively shallow, so while I’m planning on displaying the boxes at my table tilted onto the side with pins on the bottom and the lid, when they are closed I’ll probably need to remove the pins from the lid so they don’t get smushed together.
The lid is a bit plain, and I’m debating whether or not to add flowers to it. Having more flowers means it would be harder to stack for transport, but also makes them prettier for when I’m just using them for myself at home.
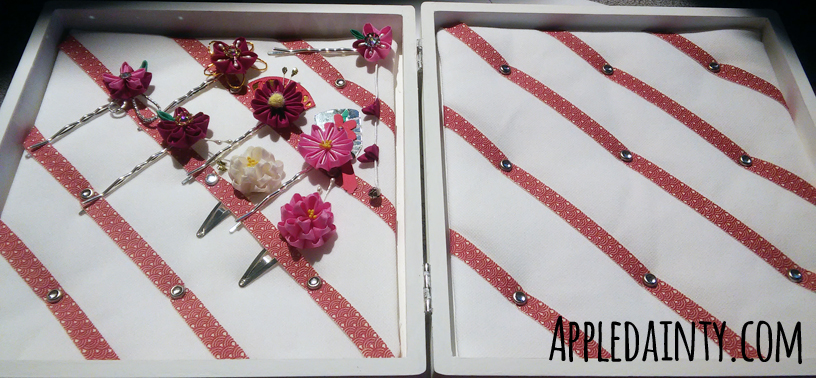
I’m going to have two of these display boxes at my table, a little necklace stand with one of my lace collars on it, a larger pin board for my medium sized hair forks, and maybe some glasses to stick larger tsumami kanzashi in so that they look a bit like flower vases. Everything else will just be laid out on the table.
Anyhoo, I hope you liked this tutorial. If you make one too, please let me know! I’d love to see it.
