
Last week I posted about crocheting some lace collars. While looking at someone else’s projects is well and good, being able to make your own projects is even more fun. I know that when I develop my pieces I like to google examples of other peoples’ work to figure out how it’s done, so decided to write out the pattern and take some progress photos for all you lovely readers.
I have never tried to write down a pattern I’ve made before, so forgive me if it’s not perfect. If you decide to use my pattern, please let me know! I’d love to see your finished lace collar. And also, please do not sell this pattern or collars that you make from the pattern; giving them is gifts is fine though.
Row One: Chain multiples of 6 until you reach your desired length, then add 1 for turning. In mine, I chained 114 stitches (6 x 19) + 1 for the turn, for a total of 115 stitches. I’m also using white cotton crochet thread and aF5/3.75mm hook.
Row Two: SC into the first stitch after the turn and continue with 1 SC into each stitch until you reach the end of the row. Chain 3 for the turn.
Row Three: DC into the first stitch after the turn and continue with 1 DC into each stitch until end of row. Chain 3 for the turn.
Row Four: DC into the next two stitches after the turn. Chain one and skip one stitch, then DC into the next three stitches. Continue with chain one + skip, then 3 DC pattern until the end of the row.
Row Five: Slip Stitch into next 3 stitches after the turn. 3 DC into the next stitch (ie. 3DC into the skip stitch from the previous row). Continue with 3 slip stitch & 3 DC in the next stitch pattern until the end of the row.
Row Six: Chain 7 and slip stitch into the middle of the first set of 3 DCs in the previous row. Continue with chain 7 and slip stitch into middle of 3 DC pattern until end of row. Slip stitch into the end stitch. Chain 3 for the turn.
Row Seven: 11 DC around chain 7 from previous row, then chain one. 12 DC around the next chain 7 from the previous row, then chain one. Continue with 12 DC and chain one pattern until end of row. Slip stitch into the end stitch and tie off to complete the lace.


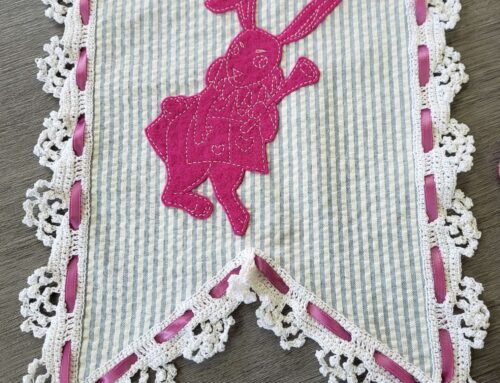
Once you finish off your lace, you can thread a piece of ribbon through the center part of the lace collar. I like to slide the ribbon under the first set of three DCs, out the gap and over the second set, then under the third set and so on until I get to the end of the collar. Then it’s easy enough to wear by tying a bow with the ribbon. You can see the finished collar I made for this example in the picture below.
It’s also now available in the Shop if you’d rather not make one yourself!
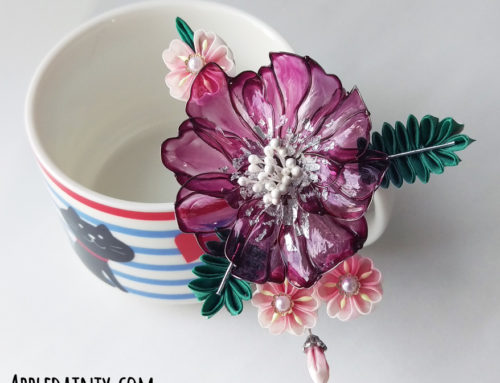
I’ve got quite a few more projects coming on down the line, mostly tsumami kanzashi. Check back next week for more artsy goodness!

[…] not made anything much more complicated than decorative lace edging (which I’ve turned into collar necklaces in the past) and the occasional scarf or hat. Certainly not anything that needed special stitches, […]